 English
 Español
Every year, homeowners face the silent frustration of replacing fried electronics—not because of a direct lightning strike, but due to daily voltage spikes from HVAC units cycling on or grid switching. According to the Electrical Safety Foundation International, sudden power surges cause millions in appliance damage annually.
If you’ve ever wondered, “Is there a way to stop this at the source?” the answer lies inside your main electrical box. While many people rely on power strips, these offer limited defence. A more robust solution installs directly at the panel, safeguarding your refrigerator, washing machine, and smart home devices.
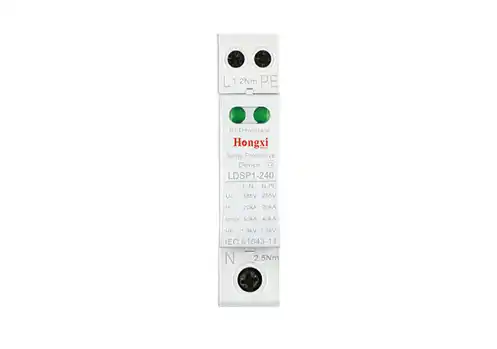
Below is a hands-on, step-by-step guide to installing this safety device. Note: Working inside a live panel is dangerous. Always verify local codes and consider hiring a licensed electrician.
Step 1: Gather Your Tools and Identify the Correct Module
Before touching any wires, you need the right equipment. For a standard single-family home, you’ll typically need a Type 2 device that connects to a dedicated double-pole breaker.
-
Tools: Voltage tester, flathead and Phillips screwdrivers, wire strippers, headlamp, and insulated gloves.
-
The Component: Look for a unit listed under UL 1449 (4th Edition). Most units have a green indicator light and a simple visual display.
A common question from DIYers: “How much space do I need?” You will need two adjacent slots in your panel for a new breaker. If your panel is full, you may need to install tandem breakers to free up space.
Step 2: Safety First – Shut Down and Test
Never assume the main breaker kills all power. While it disconnects the bus bars, the lugs where the utility feed enters remain live.
-
Turn off the main breaker.
-
Remove the panel cover screws.
-
Critical: Use a voltage tester on the incoming service wires and the bus bars to confirm zero voltage.
-
Double-check the neutral and ground bars – they often look similar.
Step 3: Install the Dedicated Breaker
Your protective device needs a home. Snap a new double-pole 20-amp or 50-amp breaker (check the unit’s specs) into the bus bars closest to the main service disconnect. Why? To reduce wire length. According to industry best practices, shorter leads (less than 12 inches) provide lower let-through voltage, meaning more effective clamping of spikes.
Step 4: Wire the Module Correctly
This is where precision matters. Most residential units have three wires: Black, White, and Green (or bare copper).
-
Black wire: Connect to the new double-pole breaker (either terminal – it’s not polarity sensitive).
-
White wire: Connect to the neutral bar.
-
Green/Bare wire: Connect to the ground bar.
Pro Tip: Route the wires along the side of the panel, away from sharp edges. Use a zip tie to keep them neat. A messy panel makes future troubleshooting harder.
Common Installation Mistakes to Avoid
Even experienced home handymen make these errors. Avoiding them ensures your system lasts for years.
-
Excess Wire Length: As mentioned, longer wires create more resistance. Cut them just long enough to reach the terminals without tension.
-
Ignoring the Indicator Light: After powering back on, check the module’s LED. If it’s off or red, the unit is not protecting. This is often caused by a failed internal fuse.
-
Forgetting the “Follow Current” Rating: Cheaper units can fail short, causing a fire hazard. Always verify that the device has thermal disconnection.
Step 5: Testing and Restoring Power
After securing every screw and ensuring no copper is exposed, replace the panel cover. Turn on the main breaker first, then test the double-pole breaker for the module.
-
Listen: No buzzing sounds? Good.
-
Look: The green light should be solid.
To confirm installation success, use a simple outlet tester on nearby receptacles. You should see normal readings. The device itself works silently; you’ll only notice its value when a neighbourhood surge occurs, and your appliances survive.
When to Choose a Professional Solution
While this guide empowers DIY inspection, whole-home protection involves risk. If your panel is older (e.g., Zinsco or Federal Pacific), or if you feel unsure about any step, a professional installation is the safest route.
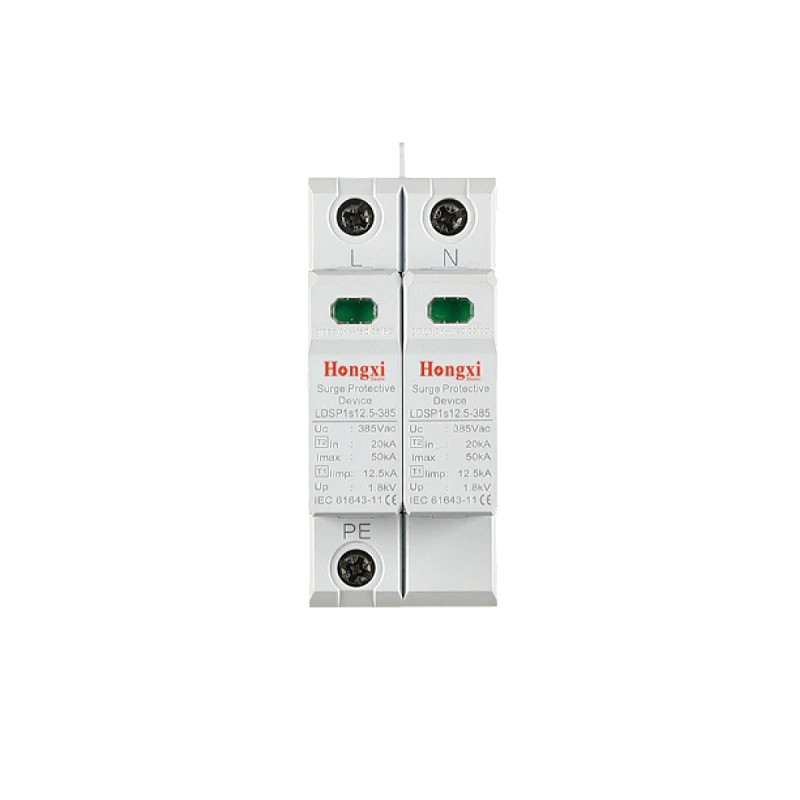
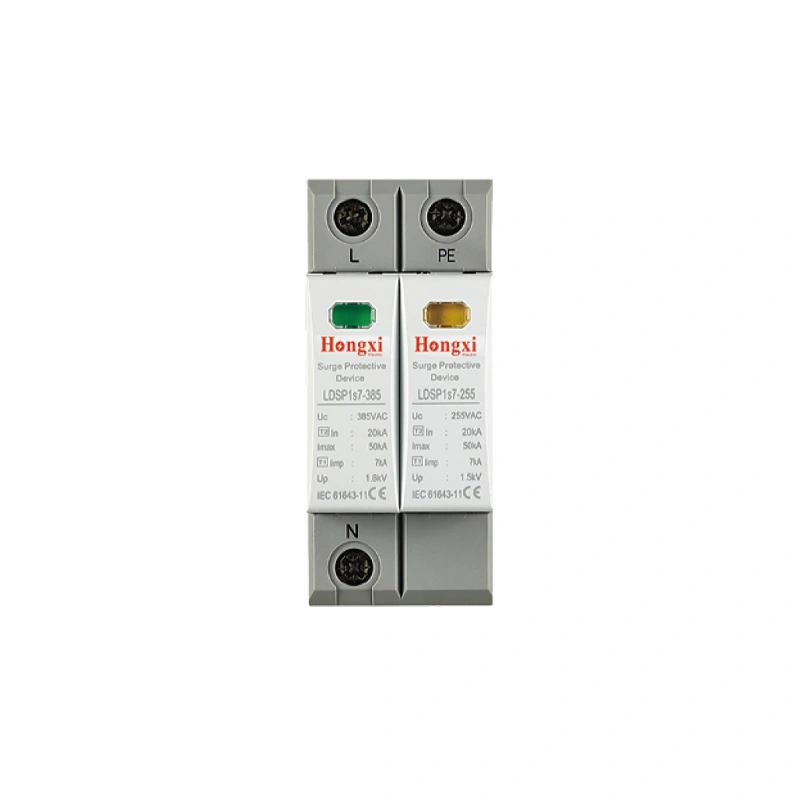
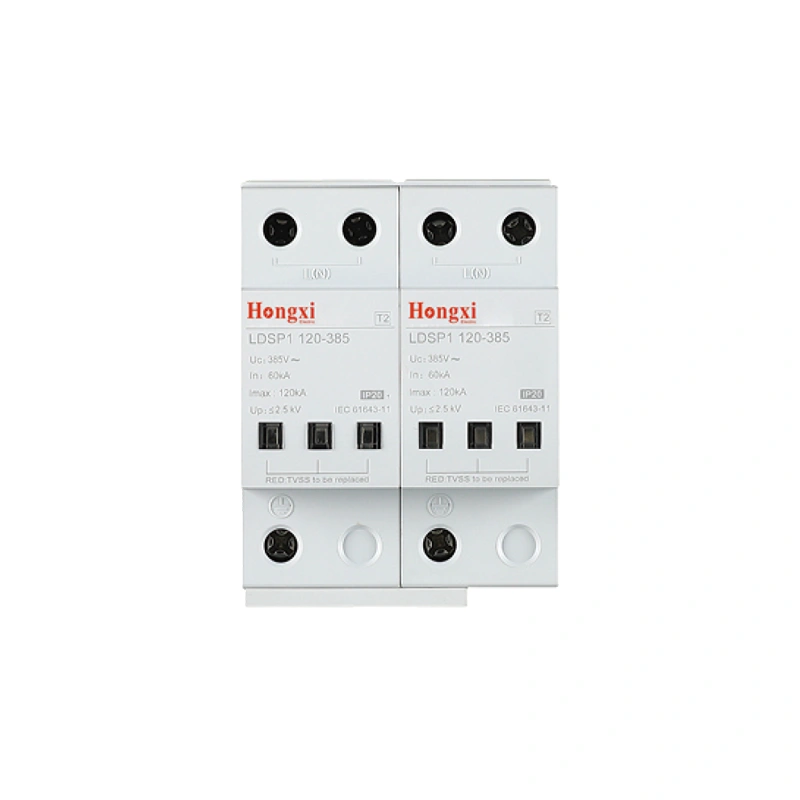
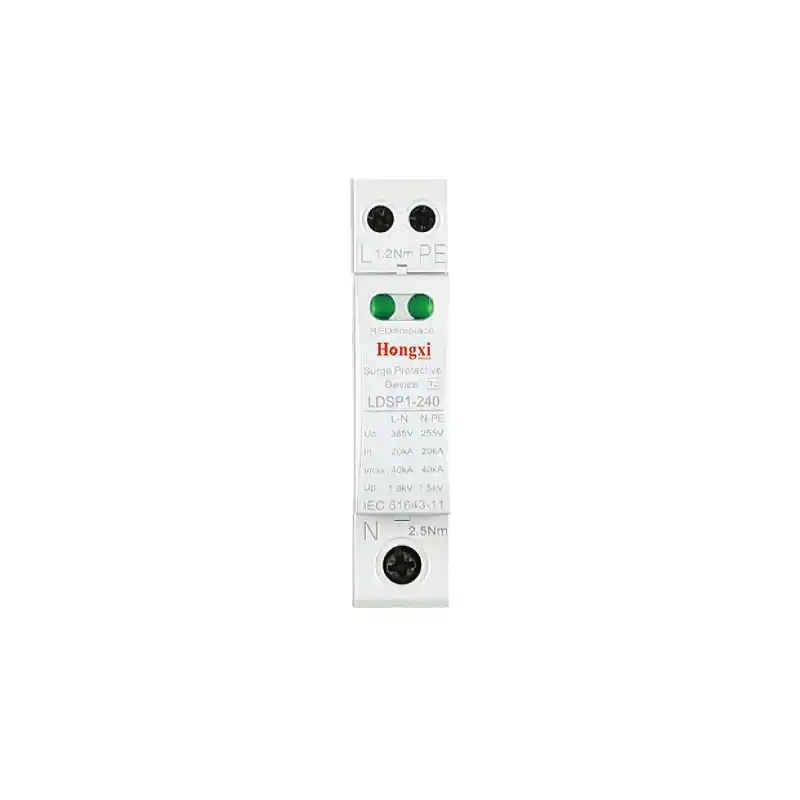
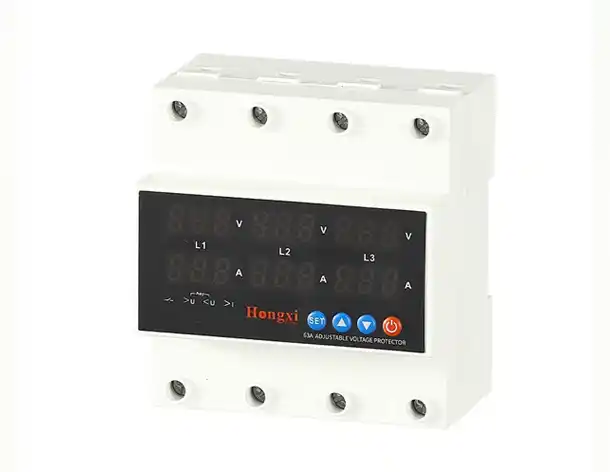
For those seeking reliable hardware, Hongxi offers a range of Type 2 devices designed for modern residential needs. [View their specific configuration options and technical datasheets here] if you are sourcing for a project or comparing specifications.
The Bottom Line: Defence in Depth
Installing protection at the panel is a single investment that covers every outlet and hardwired appliance. It works alongside point-of-use power strips to create a complete defence system. However, no device stops a direct lightning strike – that requires external lightning rods.
Think of this as insurance for your home’s electronics. The installation takes about an hour, but the peace of mind lasts for years.
Have you noticed flickering lights or unexplained appliance failures in your home? That is often the first sign of frequent micro-surges. Addressing them at the panel is the most effective cure.